How To Get Water Out Your Phone Fast And Easily
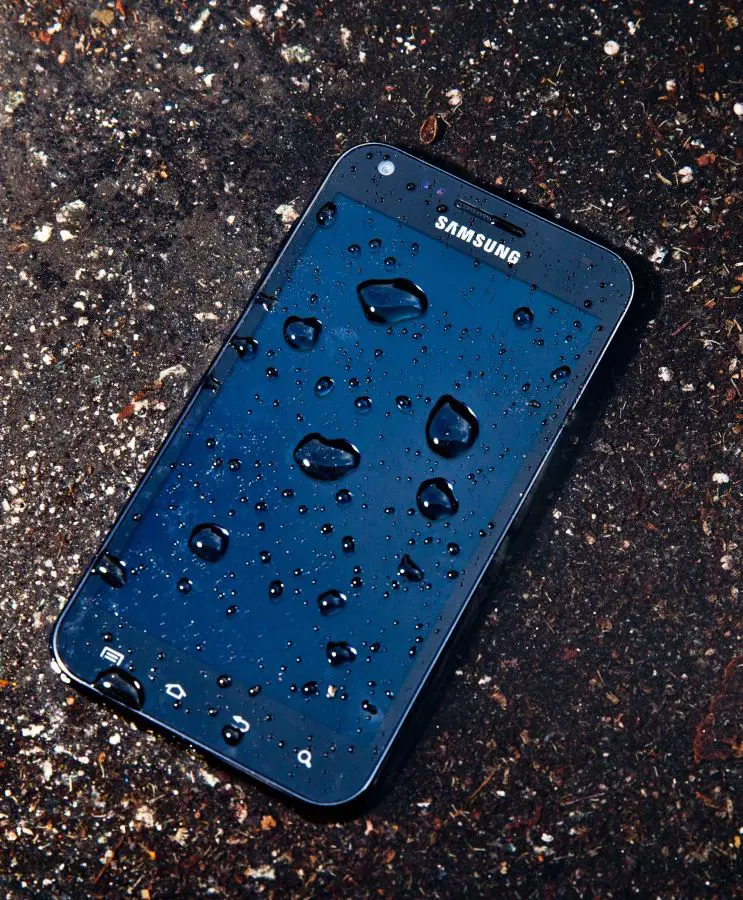
Undoubtedly, smartphones have become an important part of everyone's life, and most people can't go a minute without them. Now, imagine that device you can't part with for even a moment, what if it drops into the water? Simply thinking about it creates panic mode, right?
It's no secret that water damage can be dangerous, whether your phone gets wet from a sudden rainstorm, a spilled drink, or an accidental drop in the toilet. Because of that taking the right steps is crucial. Now you may think what are the right steps? No worries, we are here to guide you with the proper steps. To your knowledge, we'll also talk about common mistakes to avoid, and tips for preventing future water damage. Let's swoop in.
Steps To Get Water Out Of Your Phone
First, don't panic and act quickly. Remember, the longer your phone is exposed to water, the higher the risk of permanent damage. Remove your phone from the water as soon as possible if it is submerged. Every second counts in reducing potential damage.
Below are detailed steps and techniques to help you recover your phone from water damage.
1. Rescue Your Phone From Water
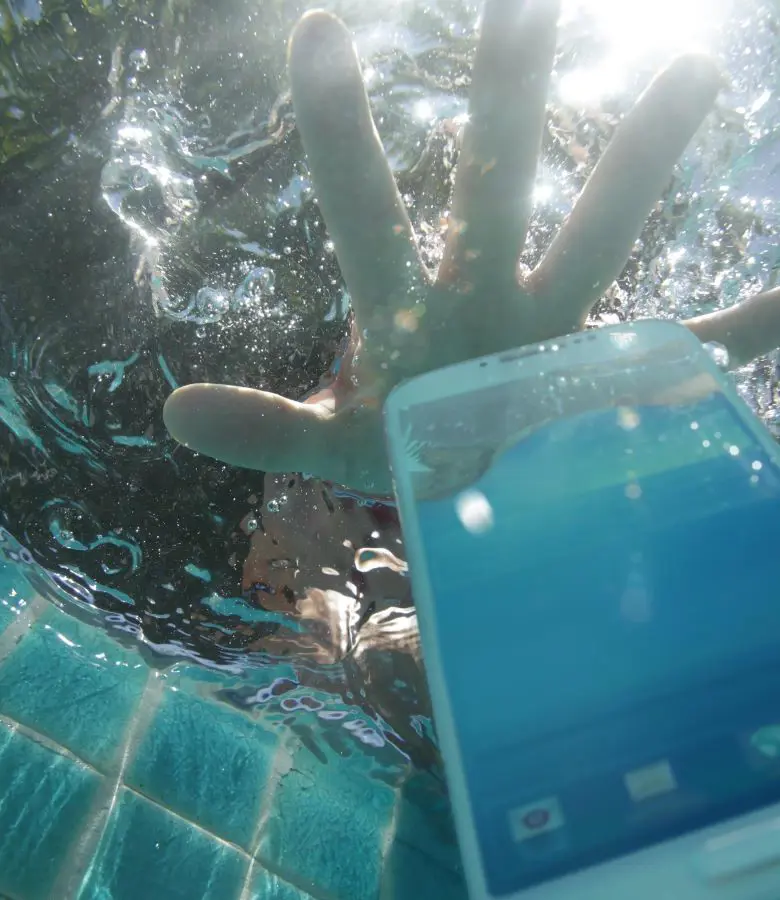
When your phone comes into contact with water, the first step is to remove it from the water source. While it may seem obvious, sometimes the shock of seeing your phone in the water can cause a delay in taking it out. As we talk, the longer it stays submerged, the greater the risk of damage. Likewise, handle the phone gently to avoid pushing water further into the device.
2. Power Off the Device
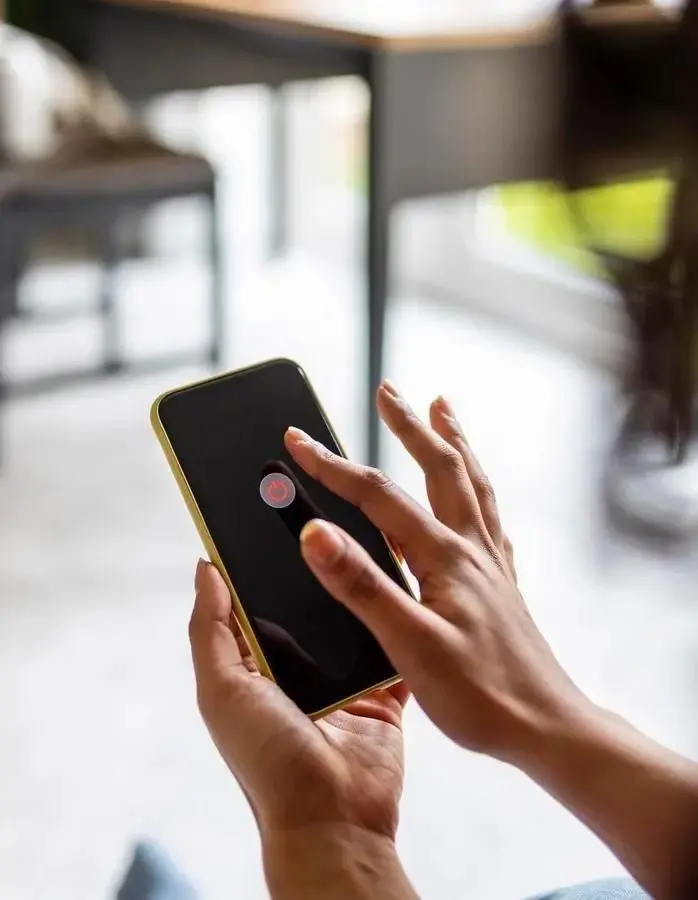
After picking up the phone from the water immediately turn off your phone to prevent short circuits. If the phone is already off, do not attempt to turn it on until you are sure it is dry. Power off is necessary because it will stop any electrical currents that could cause further damage.
3. Remove Accessories and Cases
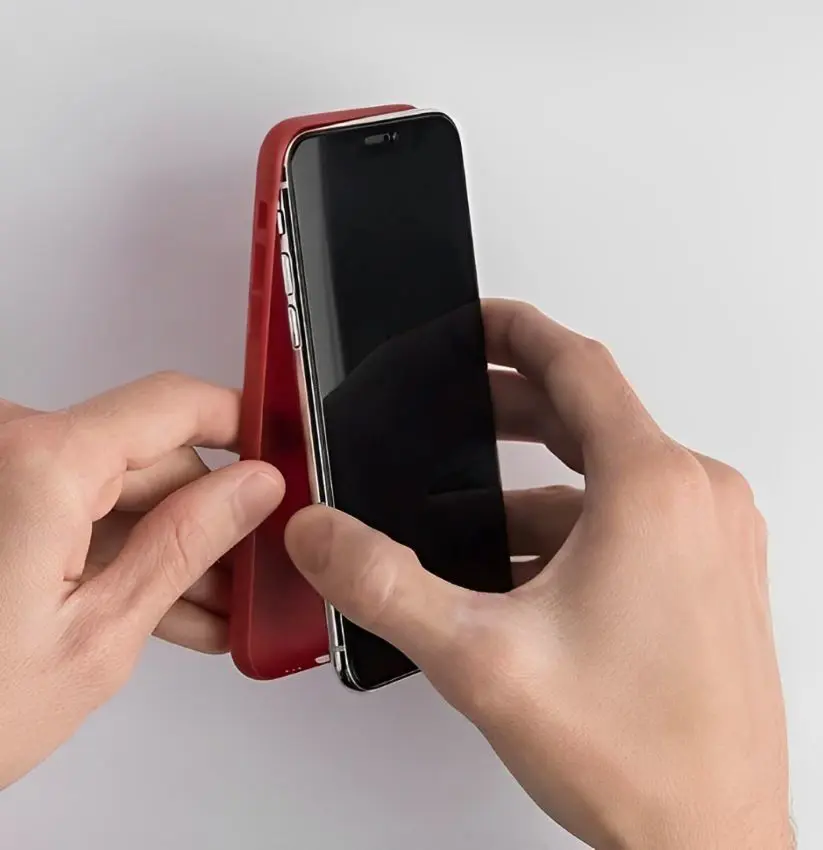
Take off any phone case and remove accessories such as SIM cards, memory cards, and batteries if possible. This will help expose all the areas that need drying and prevent moisture from being trapped.
4. Blot Off Excess Water
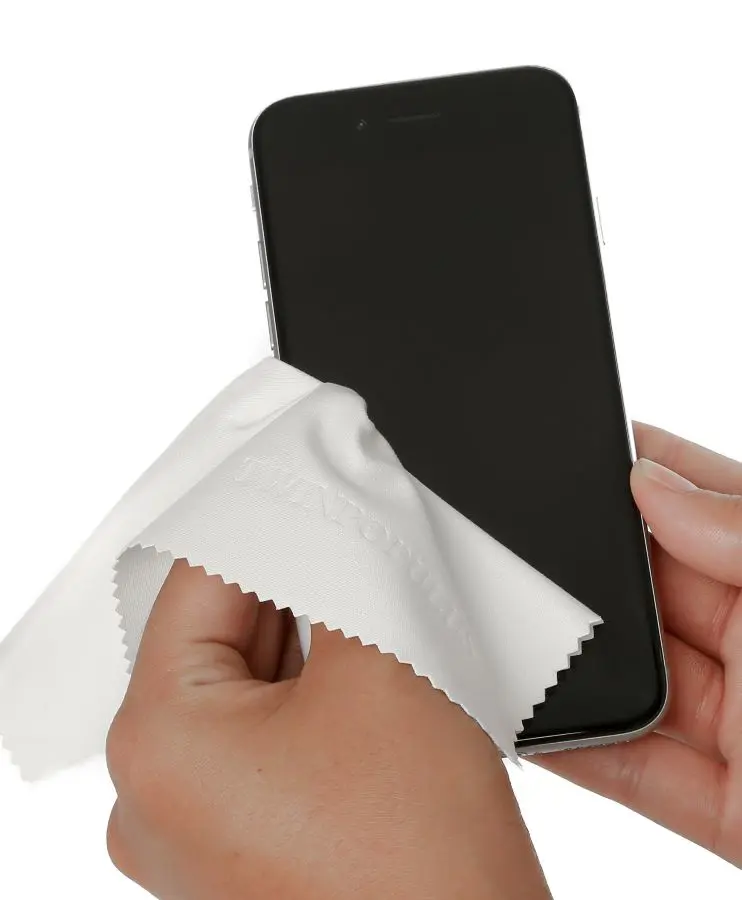
You may use anything to blot off excess water because of hurriness but never make such mistakes. You should use a soft, lint-free cloth or paper towel, as this gently blots any visible water from the phone's surface. Also, avoid rubbing as this can push water into the device. And don't forget to pay attention to the ports and openings.
5. Shake Out Water
With the phone facing down, gently shake it to dislodge any remaining water droplets. You can also tap the device against the palm to help remove water from the speaker and charging ports. But remember you have to avoid shaking your phone fast, as this can force moisture deeper into the device.
6. Use a Vacuum
If you are concerned about water trapped in tight spaces, use a vacuum cleaner in a low-section setting. A small nozzle attachment can help direct the suction to specific areas without damaging the phone. Avoid using a hairdryer, as the heat can cause damage to internal components.
7. Play Low-Frequency Sounds
After removing as much visible water as possible, playing low-frequency sounds can help push water out of the speakers. You can find low-frequency sound files online or use a sound app.
8. Use Silica Gel
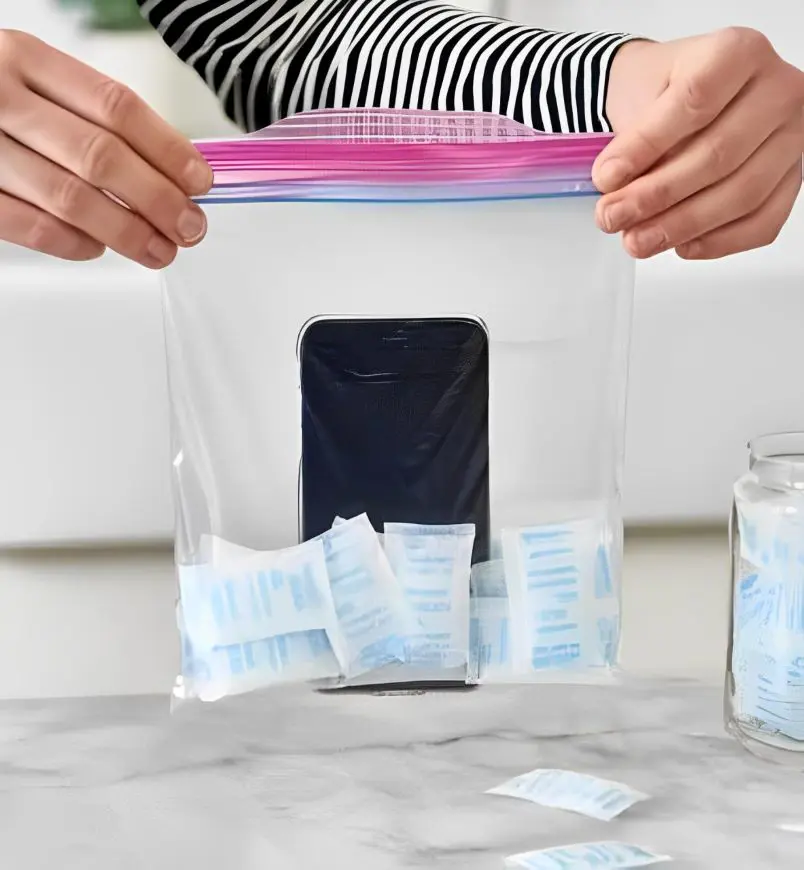
For more severe cases of water exposure, silica gel packets are highly effective at absorbing moisture. First, place your phone in a sealed container with several silica gel packets, ensuring the phone is turned off and free of visible water. After that leave it for 24 to 48 hours to allow the gel to absorb moisture effectively.
9. Allow Time to Dry
Patience is key, so leave your phone in a dry, warm area for at least 24 to 48 hours. Ensure that it is not exposed to direct heat sources, which could damage the device. If possible, position a fan nearby to enhance airflow and speed up the drying process.
10. Test Your Phone
After the drying period, power on your phone to check for functionality. If it turns on and operates normally, monitor it for any unusual behavior, such as distorted sound or screen issues. If the problem persists, professional repair may be necessary.
11. Seek Professional Help
If your phone remains unresponsive or if you notice persistent issues, it may be time to consult a professional repair service. They have the tools and expertise to clean and repair water-damaged devices effectively.
Preventive Measures
To avoid the unfortunate event of dropping your phone into water, especially in environments like pools, beaches, or near sinks and bathtubs, consider implementing the following preventive measures:
- Invest in a Waterproof Case: Simply you can protect your phone from accidental exposure to water by using the waterproof case, especially if you frequently use it near water.
- Be Cautious Around Water: Always be mindful of your phone's proximity to water sources, such as pools, sinks, and beaches.
- Consider a Water-Resistant Phone: When purchasing a new phone, consider the high Ingress Protection (IP) ratings, such as IP67 or IP68. These ratings indicate the phone's ability to resist water and dust. Phones with these ratings can withstand immersion in water for a certain period, reducing the risk of damage if they accidentally fall into the water.
- Be Mindful of Your Environment: Stay aware of your surroundings, especially when near water. Similarly, avoid placing your phone on the edge of a surface near sinks, bathtubs, or pools where it can easily slip or fall. Use designated phone holders or pouches when engaging in water activities.
- Use a Floating Pouch: If you enjoy activities like boating or swimming, consider using a floating phone pouch. These pouches not only protect your phone from water but also help it stay afloat if dropped.
- Purchase a Drying Kit: Having a drying kit on hand can be helpful in emergencies. These kits often include silica gel packets and sealable bags designed to absorb moisture quickly. Keeping one nearby can prepare you for unexpected accidents.
Common Mistakes To Avoid
After discussing steps, and prevention ways it is necessary to know about common mistakes that should be avoided while trying to fix a water-damaged phone. There are certain mistakes you should avoid to prevent further damage. Below you can see some common errors to steer clear of:
1. Exposing the Phone to Heat
You may think of placing your phone in direct sunlight or using a hair dryer, but keep in mind using a hairdryer or placing the phone in direct sunlight to speed up drying can cause additional damage to sensitive components.
2. Blowing Air into the Phone
While it might seem effective, sometimes it can push water further into the phone, which will increase the risk of damage.
3. Using Rice

Using rice to absorb moisture from a water-damaged phone is a popular DIY technique, but it has its limitations and drawbacks which we have mentioned below.
- Rice is not very effective at drawing moisture out of the intricate components inside a smartphone, as modern devices have tightly sealed compartments where water can become trapped.
- Rice is starchy and can leave behind dust and residue that may cause further issues or make cleaning more difficult later on.
- There is a risk of rice grains getting into the phone's ports and connections, which can be challenging to remove as the rice swells when exposed to water.
While the rice method can help absorb some moisture from the surrounding environment, it's not the most efficient or reliable solution for drying out a water-damaged phone.
4. Turning on the Phone Too Soon
Powering on your phone before it has fully dried can cause short circuits and further damage. It's crucial to wait at least 24 to 48 hours before turning on a water-damaged phone.
5. Charging the Phone Before It's Dry
Likewise, charging a wet phone can cause further damage and pose safety risks. That's why wait until you are sure the phone has dried completely before attempting to charge it.
What If Your Phone Drop Off On Non-Fresh Water
Unfortunately, sometimes you may accidentally drop your phone outdoors or near non-fresh water such as bathtub, toilet, dirty water, salt water, or water with chemicals like chlorine, which can cause serious harm to your device. Here is how to handle each situation:
1. Dirty Water
When your phone falls into dirty water like puddles, it can be contaminated with bacteria, dirt, and other harmful substances. This debris can linger inside your phone and potentially cause further damage. To minimize risks:
- Rinse Immediately: First and obvious quickly rinse your phone with clean fresh water to remove any contaminants.
- Wipe Away Debris: Carefully clean any visible dirt or sediment from areas like the charging port and around the screen edges.
2. Chemically Altered Water
If your phone takes a dive into a choliranted water swimming pool, it can lead to significant issues. Many warranties do not cover damage from chemically altered water, so it is essential to act fast.
- Flush with Fresh Water: Rinse your phone thoroughly with fresh water to wash away the chlorine.
- Dry Properly: Follow the drying steps that we have mentioned above to ensure your phone is completely dry before turning it back on.
3. Saltwater
Saltwater is particularly damaging because it is corrosive and can lead to scratches or internal damage. If your phone ends up in the saltwater pool, here is what to do:
- Rinse with Fresh Water: Immediately submerge your phone in fresh water mixed with a bit of baking soda to neutralize the salt.
- Dry Thoroughly: Allow your phone to dry completely before attempting to power it on.
Lastly, seek professional help because in many cases the best course of action after dropping your phone in non-fresh water is to take it to a professional repair service.
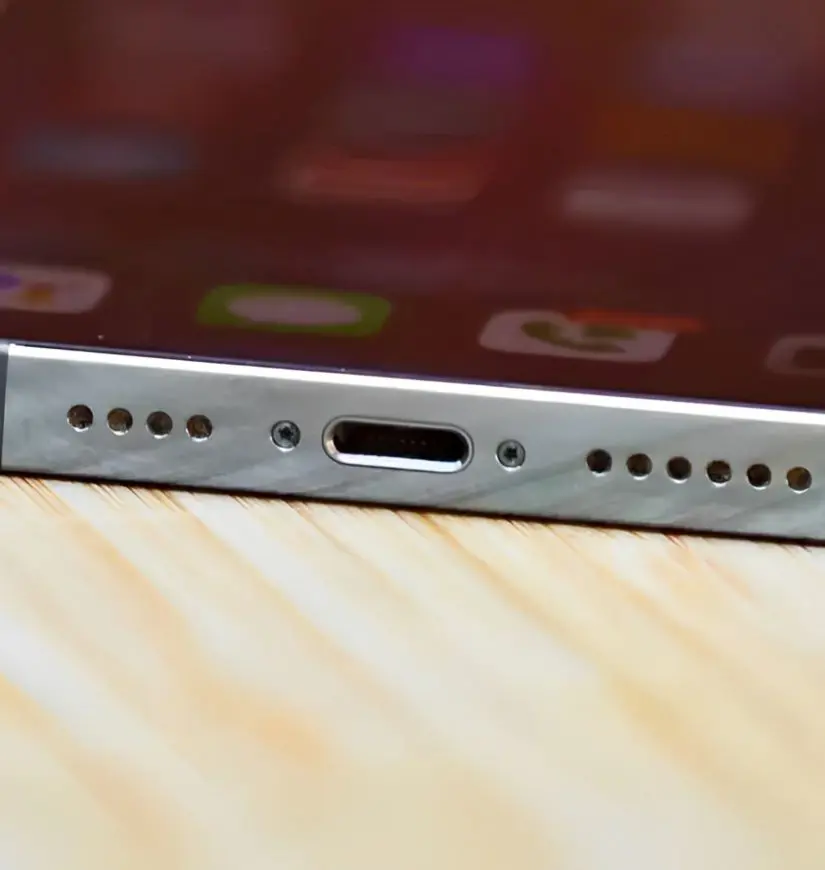
How To Get Water Out Of Charging Port?
If your phone has come into contact with water, particularly in the charging port, it is essential to act quickly to prevent further damage. Here is a step-by-step guide on how to safely remove water from your phone's charging port:
- Power Off the Device: Immediately turn off your phone to prevent any electrical short circuits.
- Remove Any Accessories: As we discussed, take off any protective cases and remove accessories such as SIM cards and memory cards. This helps expose the charging port and allows for better airflow.
- Dry the Exterior: Gently wipe the outside of your phone with a soft, absorbent cloth to remove any visible moisture. Be careful not to shake, as this can push water further inside.
- Inspect the Charging Port: Look closely at the charging port for any visible water or debris. If you see any, use a cotton swab or a soft brush to carefully clean it out. Avoid using sharp objects that could damage the port.
- Use Compressed Air: If available, use a can of compressed air to blow out any excess water from the charging port. Hold the can upright and use short bursts to avoid moisture getting pushed deeper into the device.
- Let it Dry: Place your phone in a dry, well-ventilated area with the charging port facing down. This position encourages any remaining moisture to drain out. Allow it to sit for several hours or ideally overnight.
- Check for Residual Moisture: After allowing sufficient time for drying, check the charging port again for any signs of moisture. If it appears dry, you can attempt to power on the device.
- Seek Professional Help if Necessary: If your phone still doesn't work after drying, or if you notice signs of corrosion or other issues, it is advisable to take it to a professional repair service.
Important Reminders
- Do not charge a wet phone: Charging your phone while it's still wet can cause serious damage.
- Avoid using heat: Do not use a hairdryer or any heat source to dry out the charging port, as this can damage internal components.
- Be patient: Allow enough time for your phone to dry completely before attempting to use it again.